LX Desktop Minimum Baffle Speaker
I made these 3D printed 2-way desktop speakers with unconventional acoustic design. I also implemented electronics with digital crossover and DSP tuning for these speakers.
Inspirations
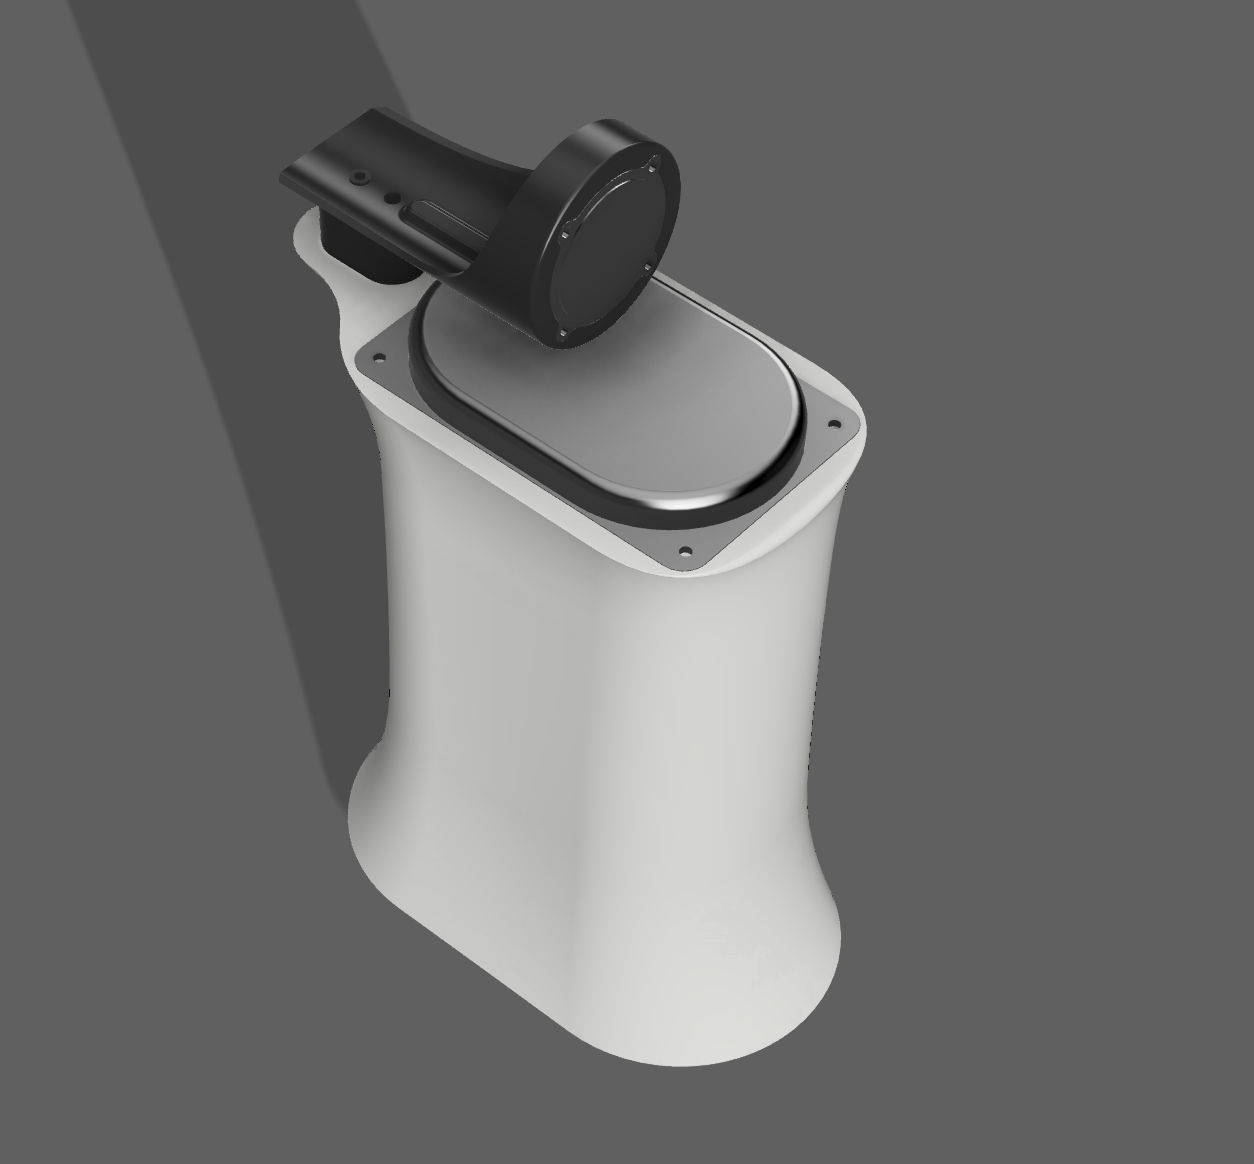
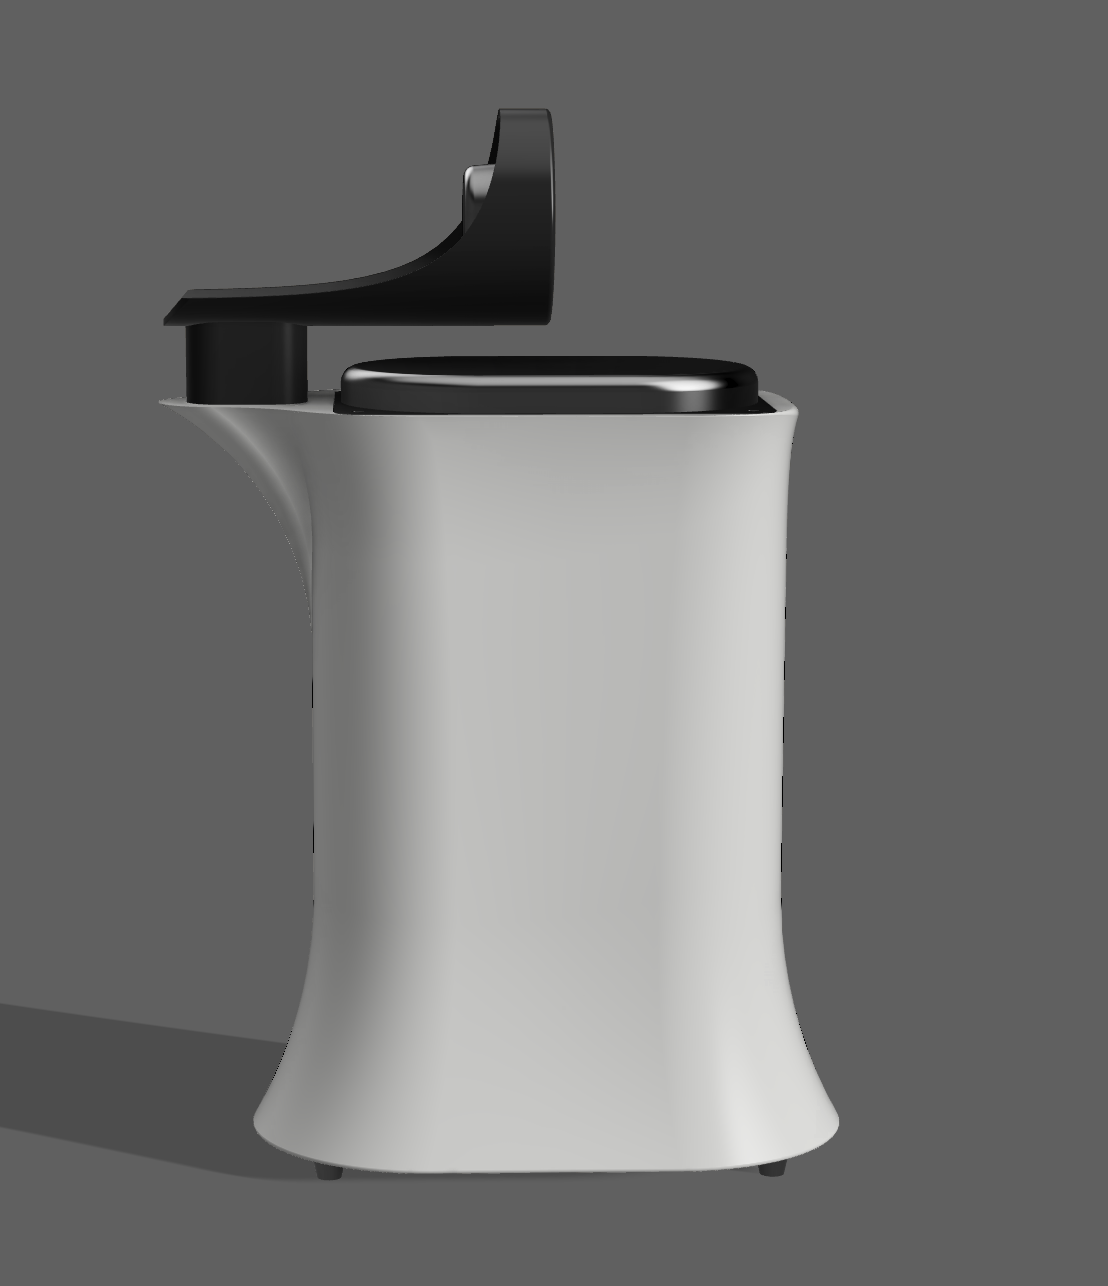
This project was a design exercise of a desktop speaker different from a conventional box. Inspirations of the design come from works of Siegfried Linkwitz, particularly the LX series speakers. Linkwitz is a world class audio engineer who brought us the famous Linkwitz-Riley crossover, but sadly passed away in 2018.
Acoustics
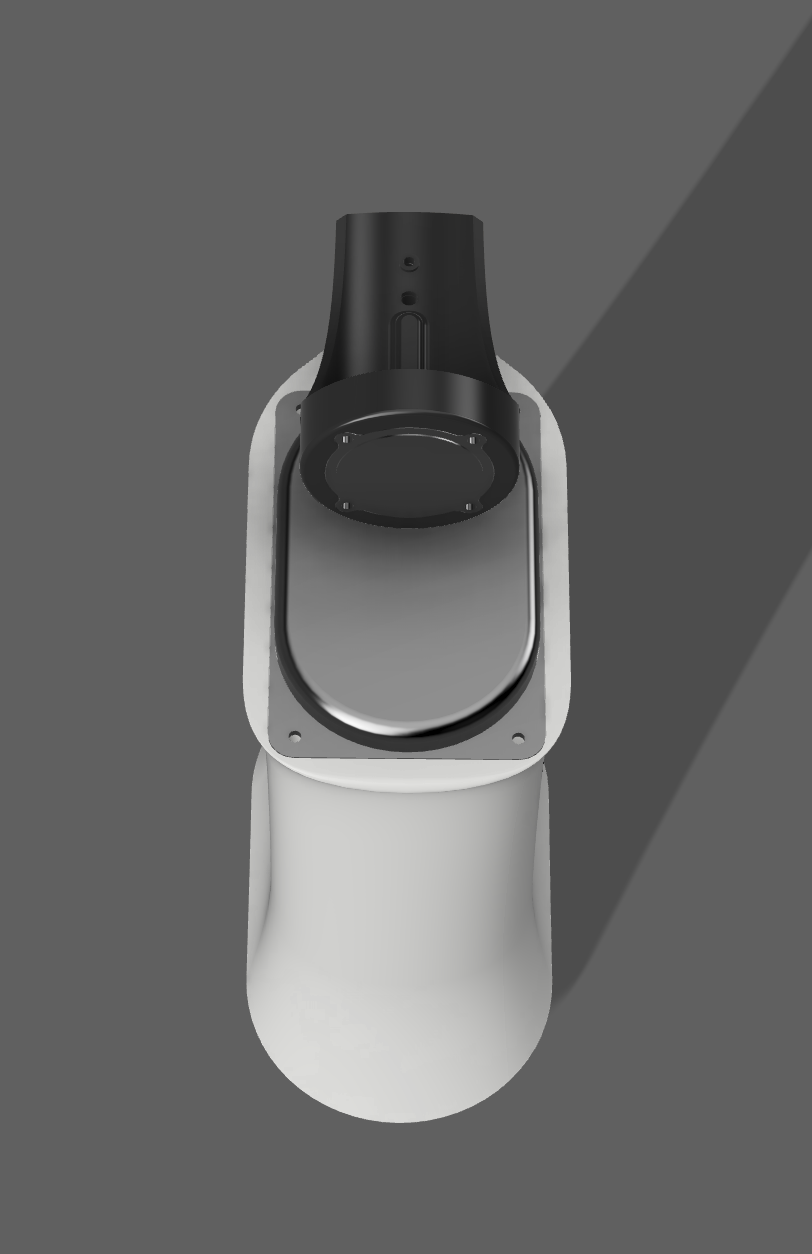
The most striking feature of the acoustic design on this speaker is that it uses a tweeter in the dipole configuration, in contrast to the much more common closed box configuration. Using the tweeter in this way means that the baffle step found on traditional box constructions are minimized, and the radiation pattern is also significantly different. As a result, the speakers interacts with the environment in a very different way and almost disappears into the background when playing music. The woofer and tweeter are particularly chosen for this project. For the tweeter, a 1-inch Tectonic BMR is used. This driver is selected for its excellent off-axis performance and smooth frequency response. I have been working with driver on a few projects now and I'm impressed with its performance. The woofer is a custom unit developed with friends in the speaker manufacturing industry. This woofer has the perfect shape and Qts values for this project.
Electronics
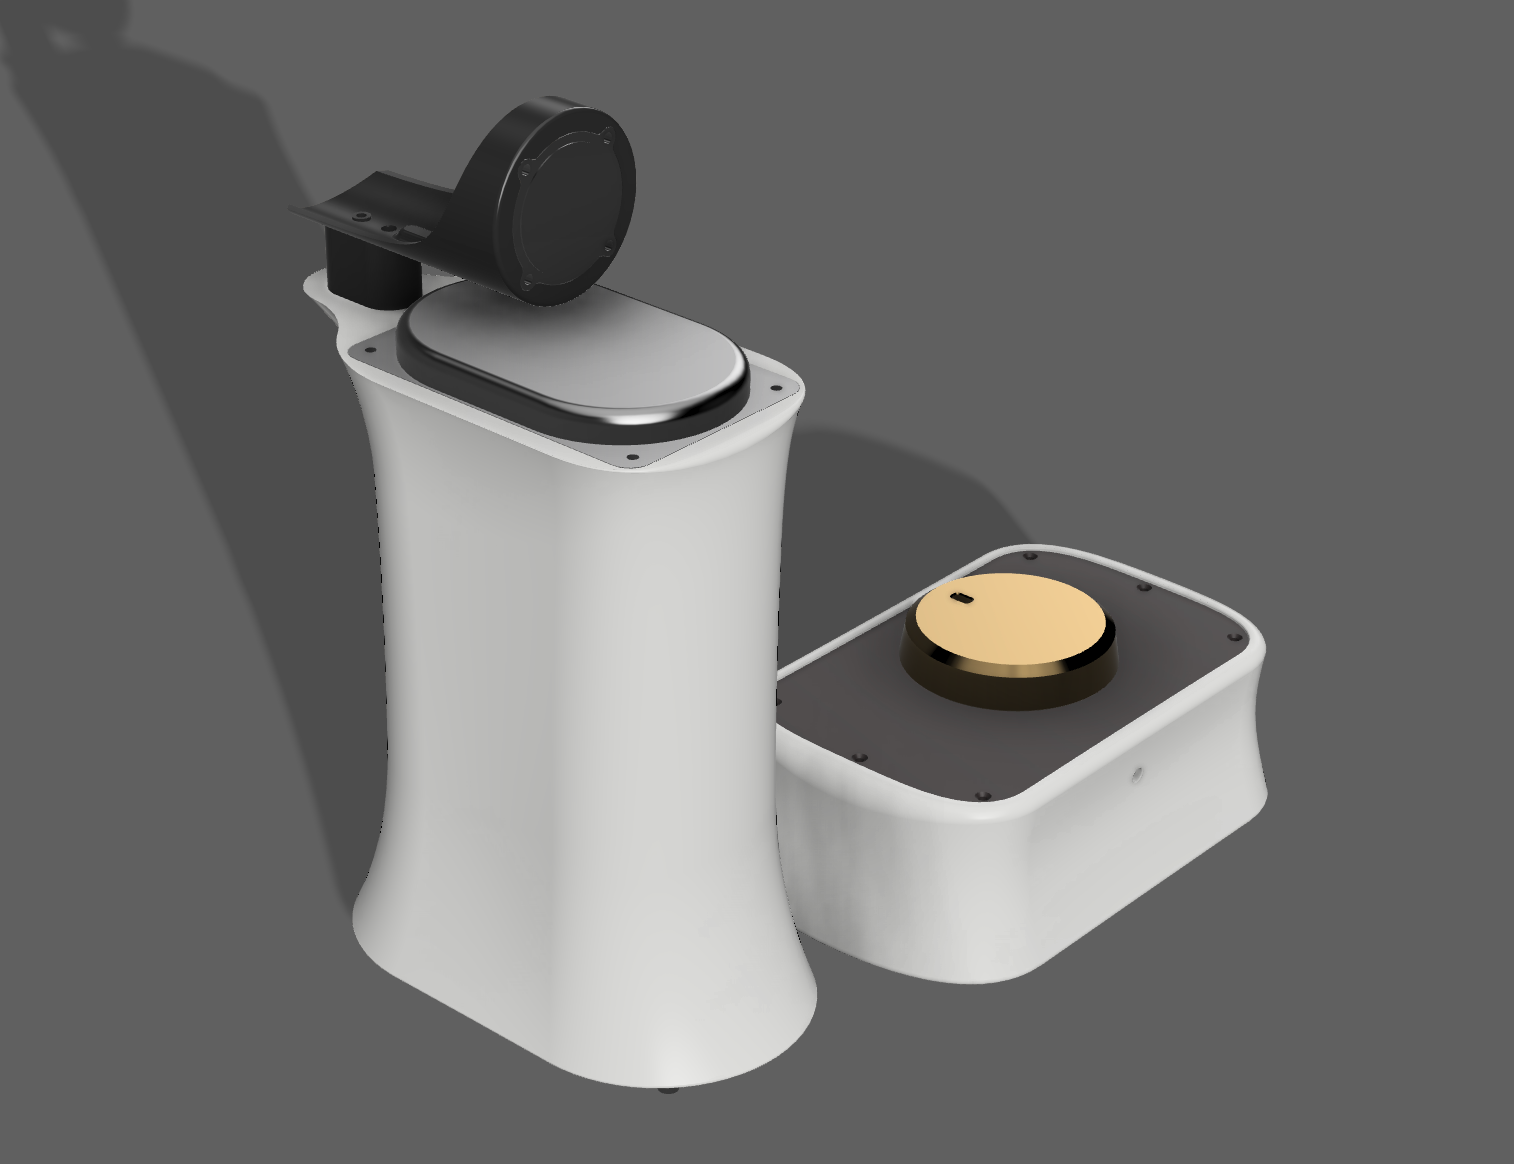
A Dayton audio DSP amp was chosen for this project to drive the speakers. This is a 4 channel amp, so I was able cross over the speakers digitally and use one output for each speaker. The overall digital signal chain is described in the figure below. EQ's were used to achieve a balanced frequency response at the listening position. EQ settings were determined using in-situ measurements and the open source filter fitting tool AutoEq.
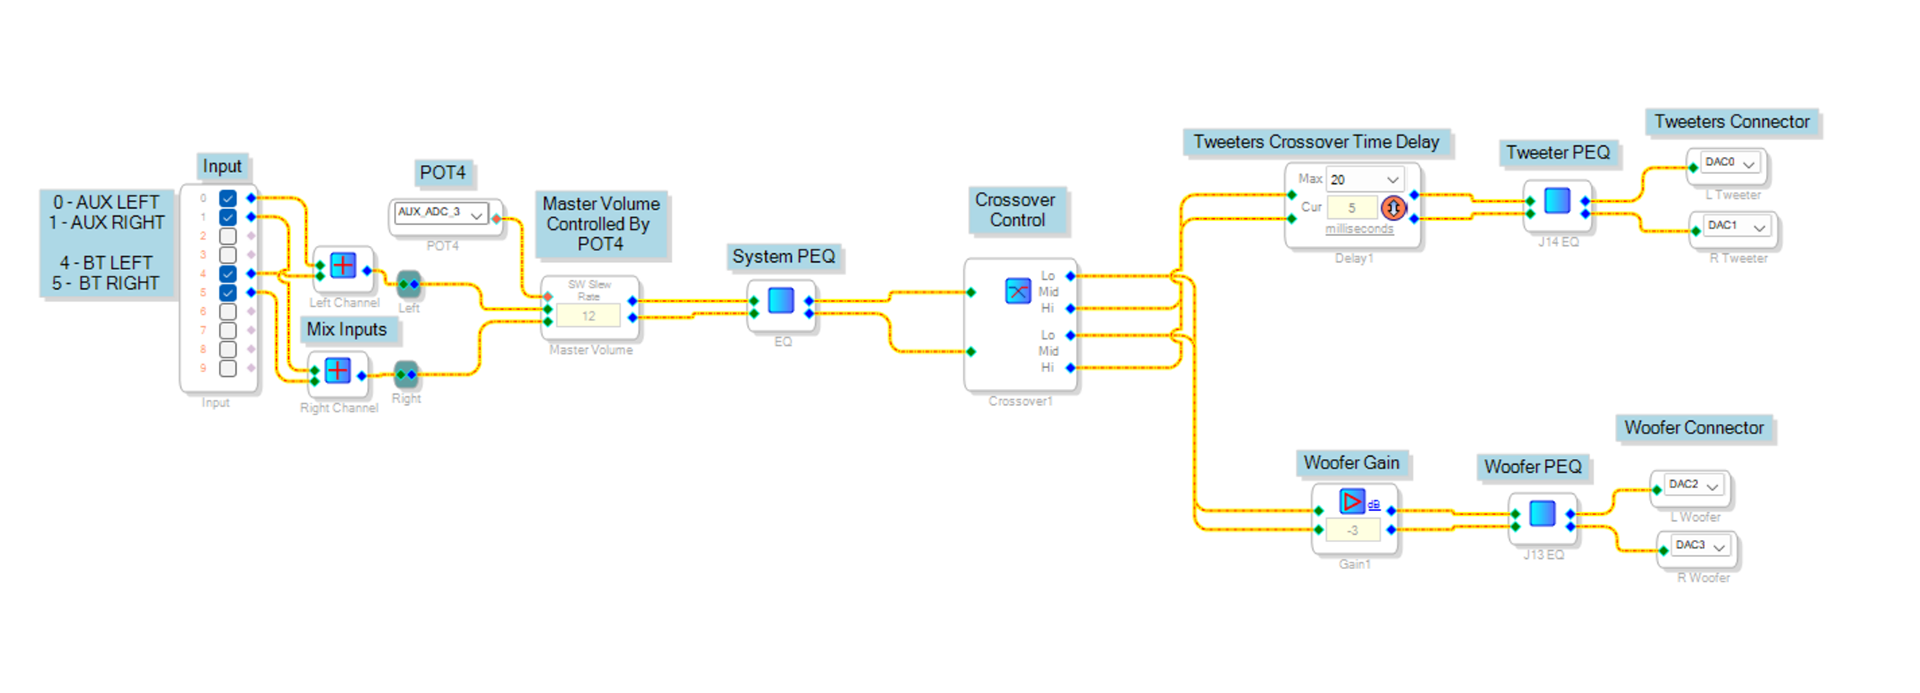
Above is a picture of the signal path in SigmaStudio. It consists of crossover and EQ stages.
Build
In 2023, I taught myself 3D modeling and 3D printing, and this is one of the first projects I did after I start to feel confident with my new skill. The speaker and amp housing are 3D printed. All the parts for the pair and the amp took about 20 hours to make on a fast printer. Here is a satisfying time lapse of some of the parts being made on the printer.
After the speakers are made and every thing is put together, I took an in-situ measurement at my listening position and applied a final EQ tuning. The target is set to be flat from 100Hz to 10kHz with a slight downward slope toward the high frequency. Here is a measurement before and after the EQ bering applied.
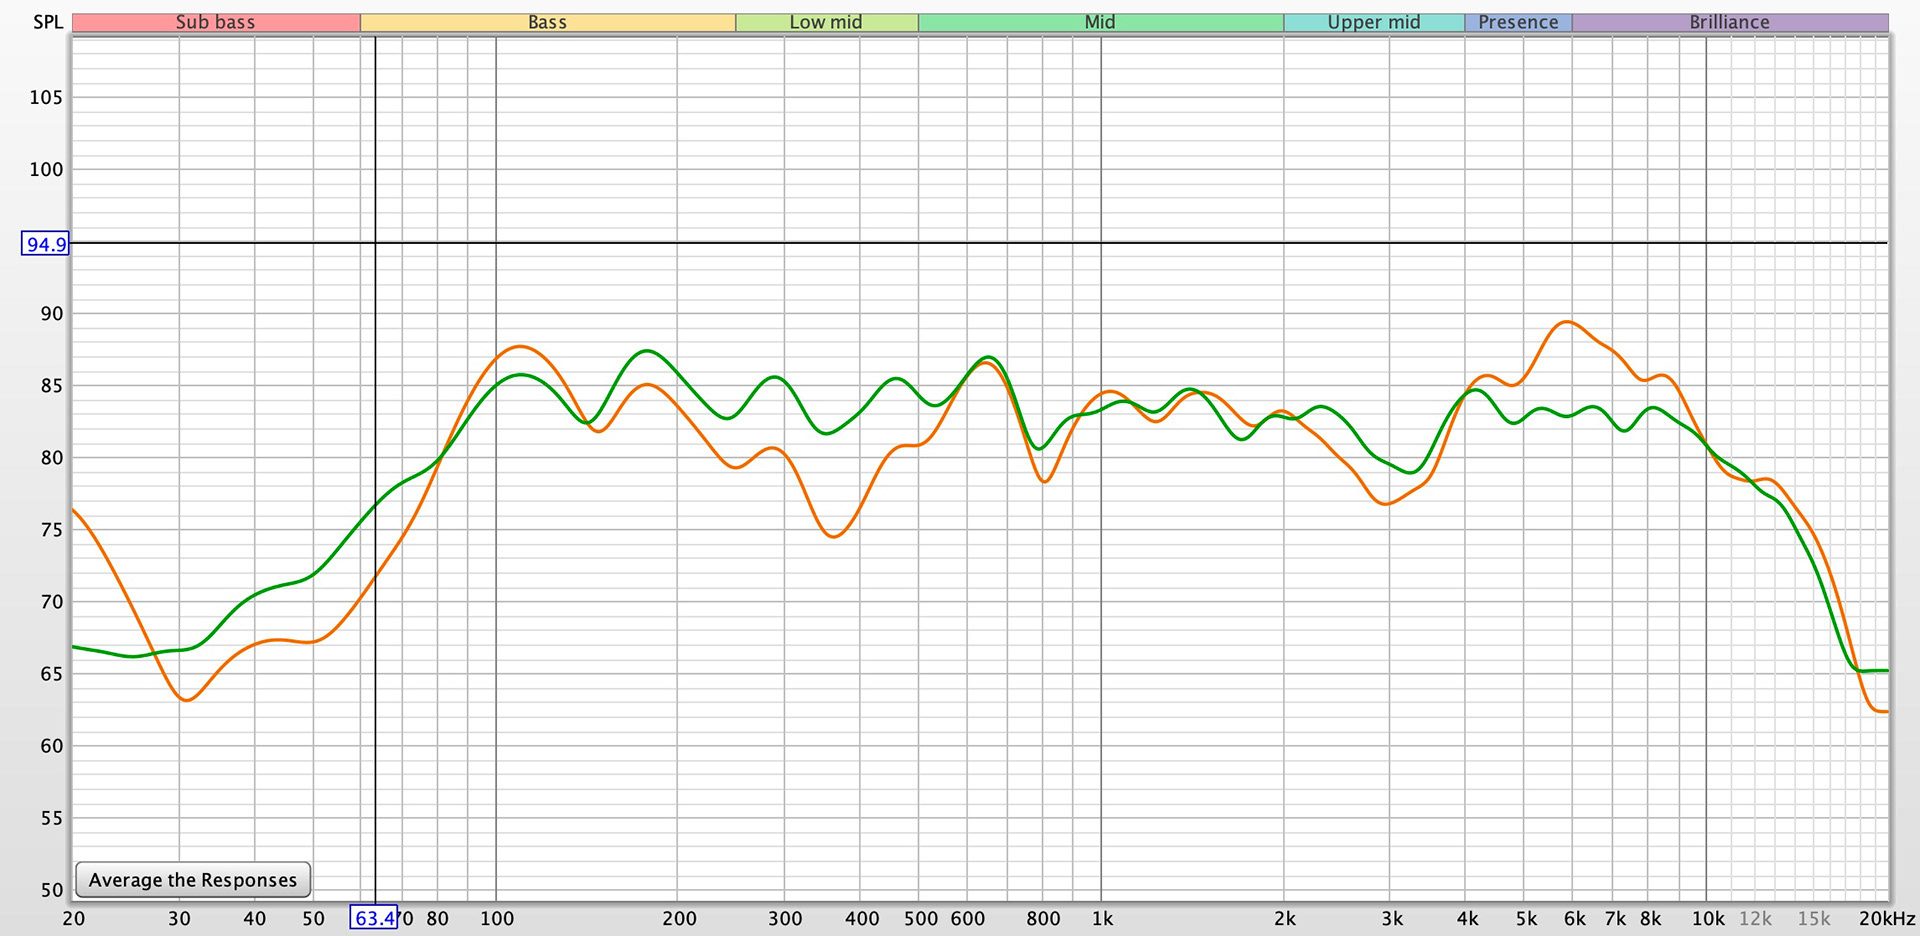
The following video demonstrates the overall finished speaker and shows a short playback sample. They sound pretty good for the size. Overall, I am happy with the result. Now I have an unconventional pair of speakers that everyone asks about.